Fire Pit Care
WARNING!
It is highly recommended that you have the help of at least one other person when assembling, disassembling or moving our fire pits.
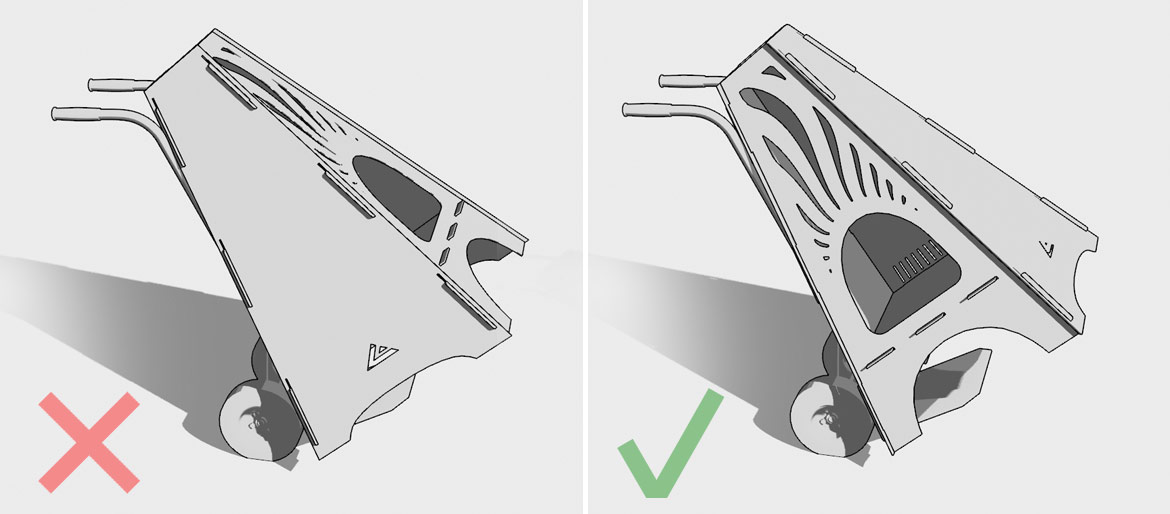
When moving the fire pit only lift from the sides. Do not lift from the front or back of the firepit.
It is also recommended the fire pit is placed on a bed of fire brick or pavers when placed on a deck or any surface other than concrete or dirt. We are not responsible for any damages caused to the decking due to negligence.
Please wear gloves. There is always a chance that the edges of the metal plates can be rough and dragging your hands across them can result in skin damage.
Always supervise children around any fire source. Fire pits and chimeneas can cause serious injury. We cannot be held responsible for injuries due to negligence.
The SpirePit™ is a highly unique fire feature made in the U.S.A. from hot rolled mild steel that ages beautifully. If you are in a temperate climate the first thing you’ll notice is a slight rusting around the edges. After several uses the metal will start to take on organic gold and purple color patterns similar to stainless steel when exposed to extreme heat. And then the long term effect will ultimately end in full rust over the entire unit. That stage will take anywhere from 1 to 3 years.
The rust can be achieved sooner by simply scuffing the surfaces with a semi-fine sandpaper and spraying a few times with water.
To reduce the rust build up you can wipe the fire pit down if/when it gets wet and be sure to cover it in the rainy season.
To prevent rust you can periodically use a hydrophobic oil mixture designed to protect metal from the onset of rust.
Weather proof cover coming soon.
Assembly Instructions
Step 1.
Assemble the face plate (with the fuel opening) and one of the side plates in the standing position (image 1).
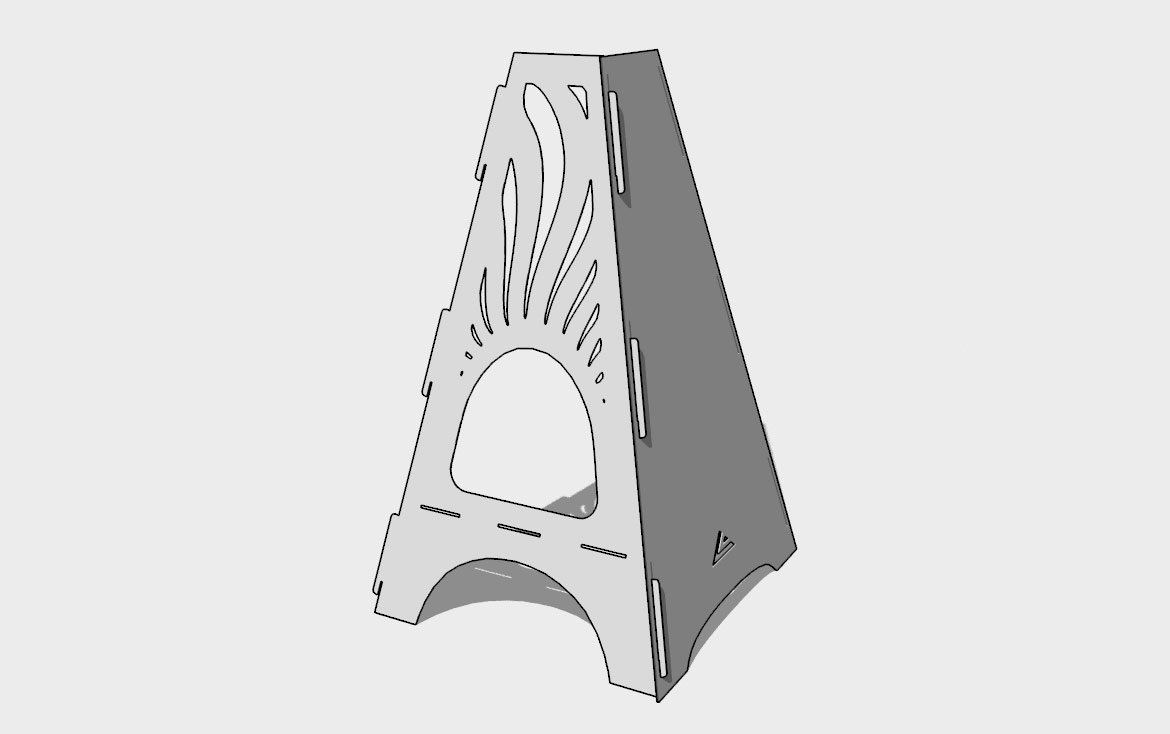
Our products utilize the "hook & slot" platform. Once the fire pit is assembled it will hold itself together under its own weight.
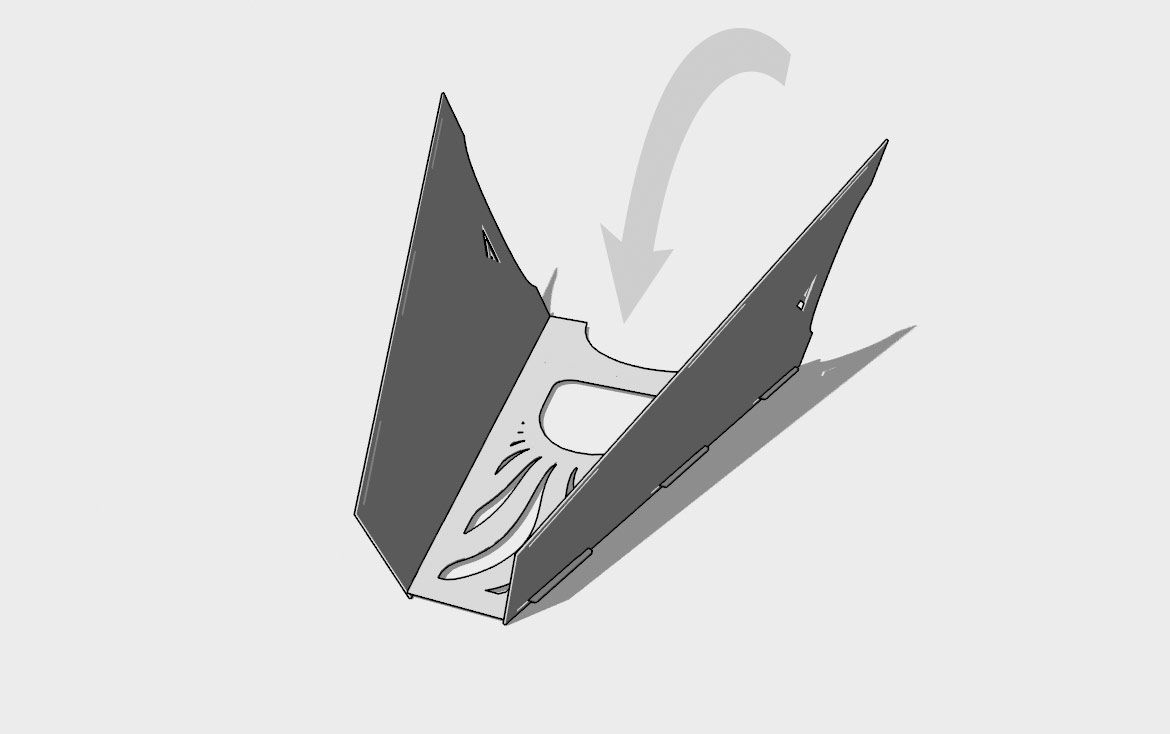
Step 2.
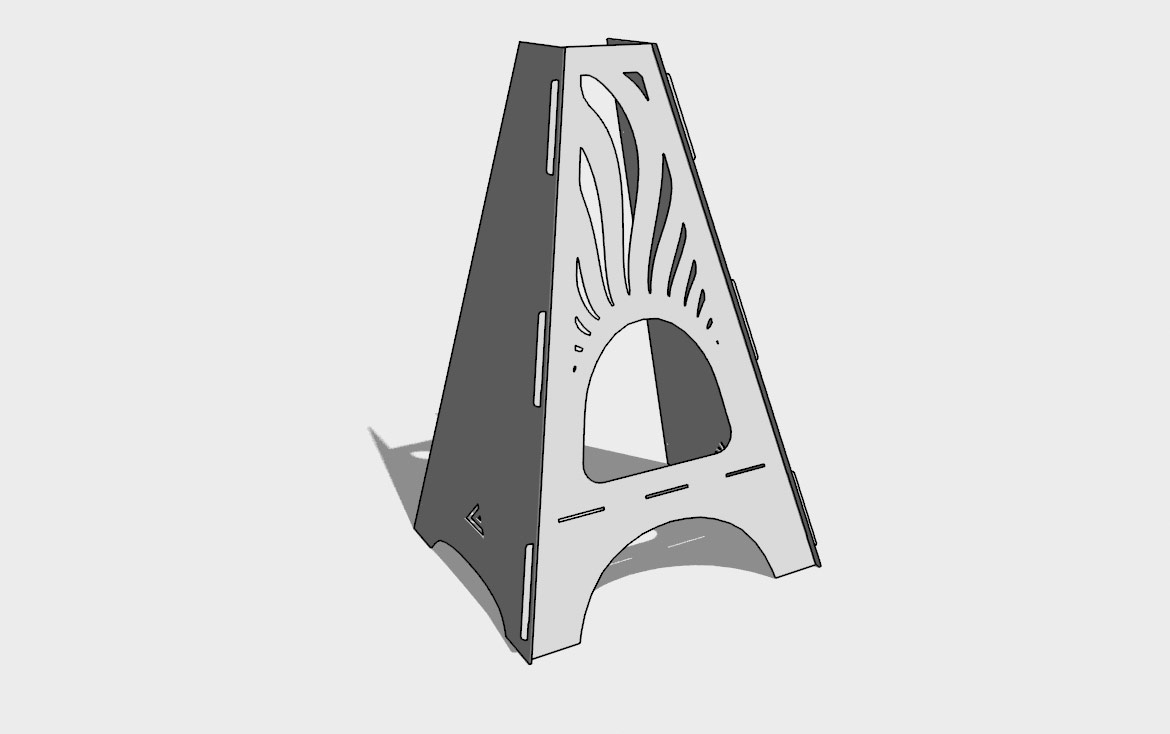
Assemble the opposite side plate to the standing face plate. You will need to tilt the face plate up slightly so that the hooks and gaps can be aligned.
Step 3.
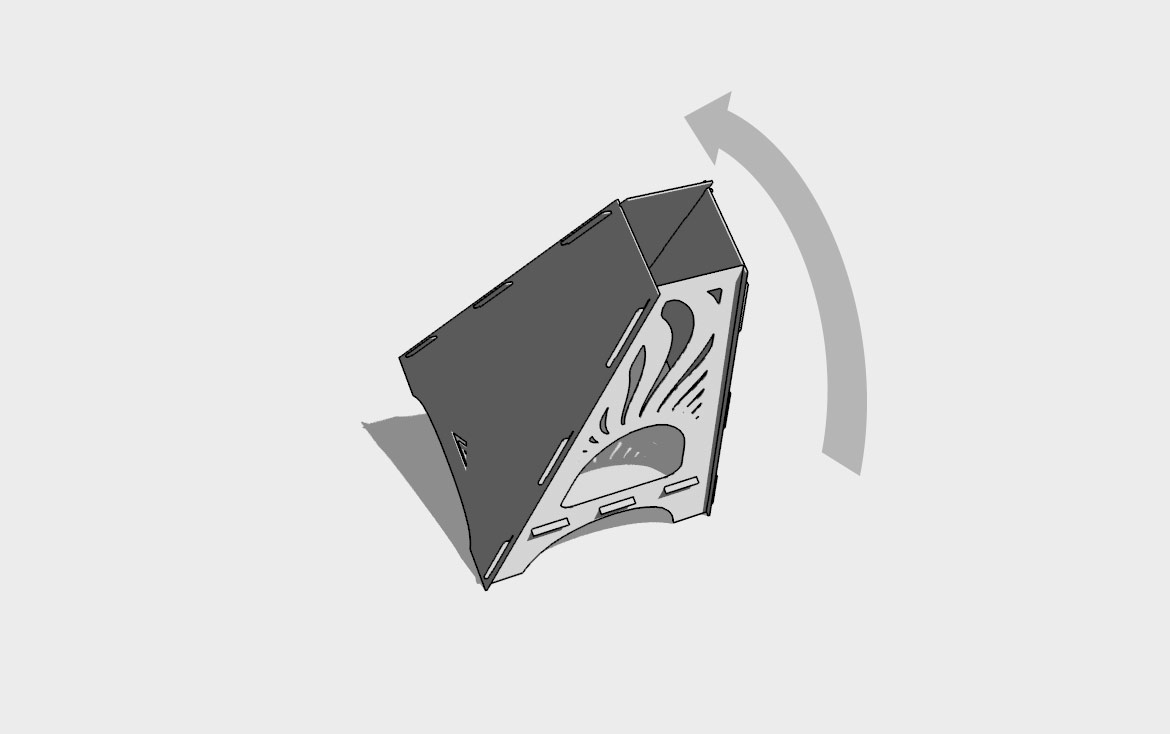
Tilt the 3 assembled plates forward to lay on the ground face down.
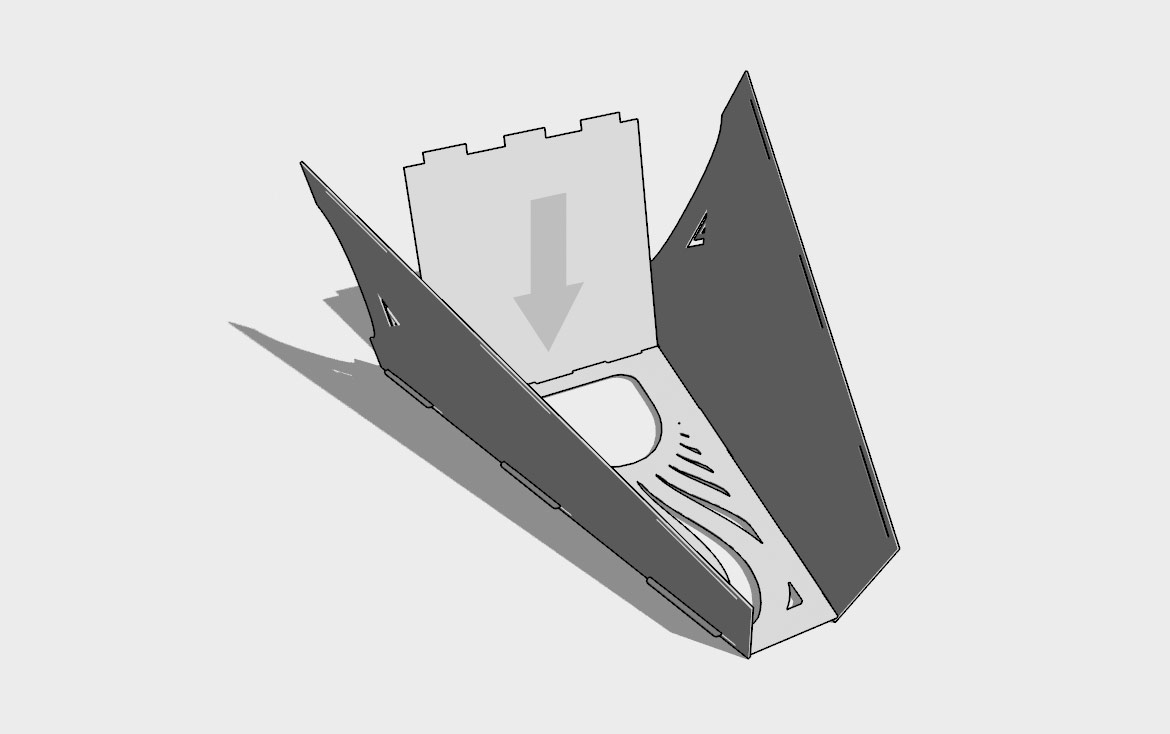
Step 4.
Insert the burn floor plate into the 3 gaps on the inside of the face allowing burn floor to lean back toward the bottom end of the fire pit.
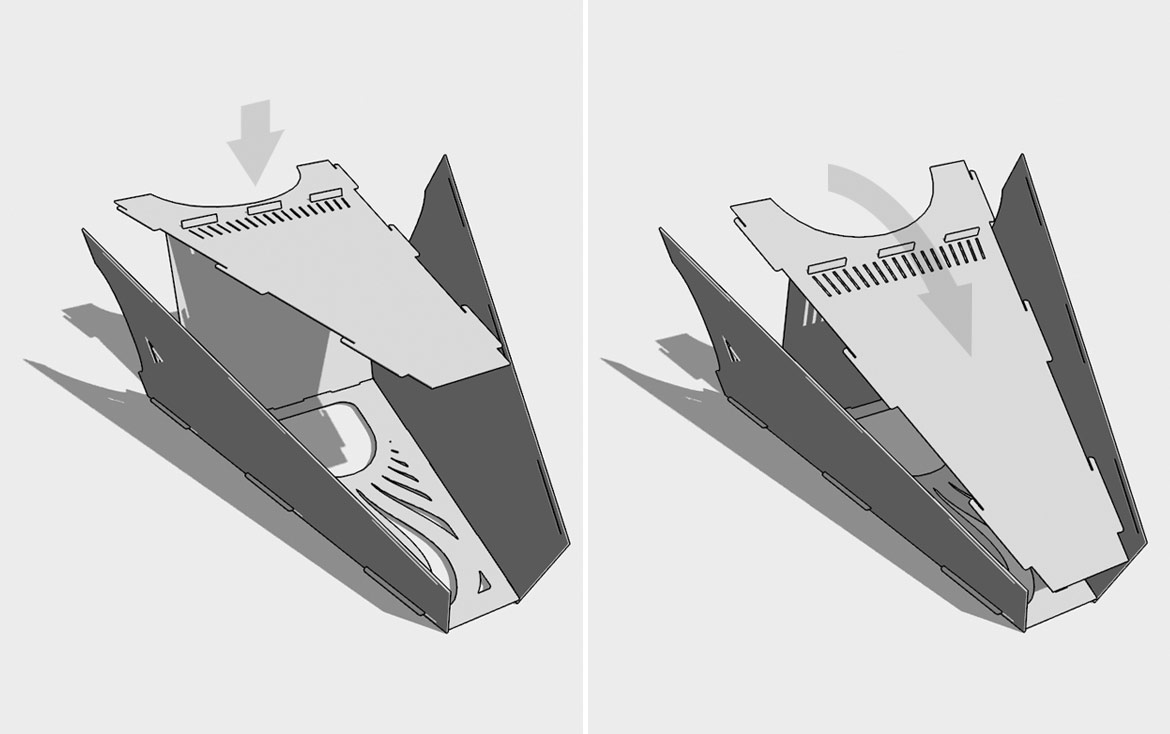
Step 5.
Set rear plate onto burn floor plate fitting notches into gaps. Then lean rear plate forward to align hooks with side plate gaps.
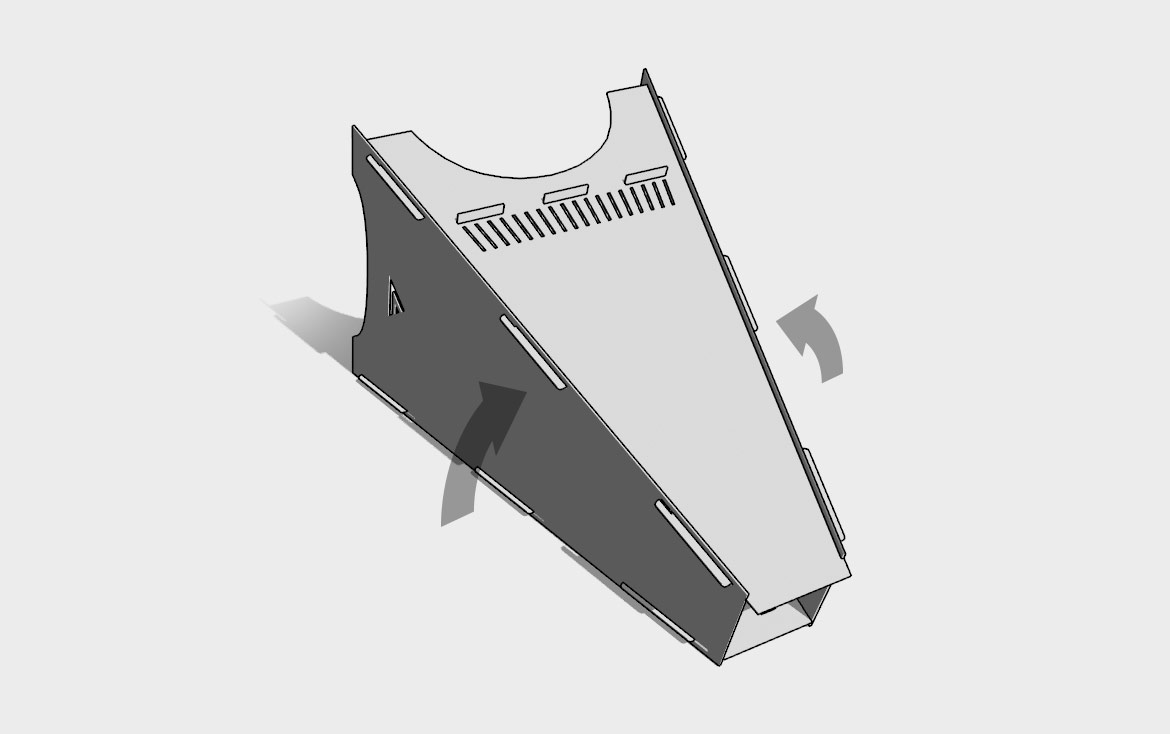
Step 6.
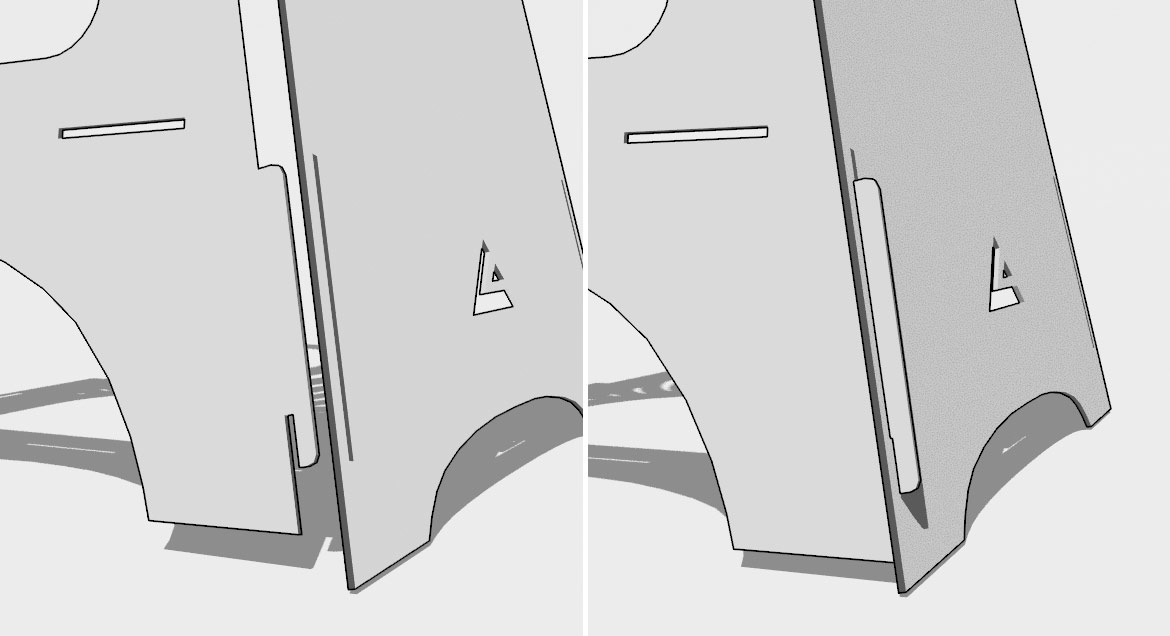
Bring both side plates together inserting hooks into gaps. This step can require a bit of force and leverage.
Step 7.
After making sure all hooks are fully inserted into the gaps we suggesting using a large rubber mallet or block of wood and hammer to tap the top end of the rear plate until hooks are fully seated. Then with the help of another person lift the assembled firepit into the standing position. Enjoy!
Moving the SpirePit™ will require a very sturdy hand truck with a recommended weight rating of at least 200lb. Weighing in at roughly 200lbs it should be moved only by relatively capable individuals.
When moving the firepit with a hand truck always lift from one of the sides. Do not lift from the front or back of the firepit else one of the plates can unlock and detach. The SpirePit™ can be disassembled and reassembled relatively easily, again by relatively capable individuals.